Tip of the month: March 2023. Photographing the moon in the night sky.
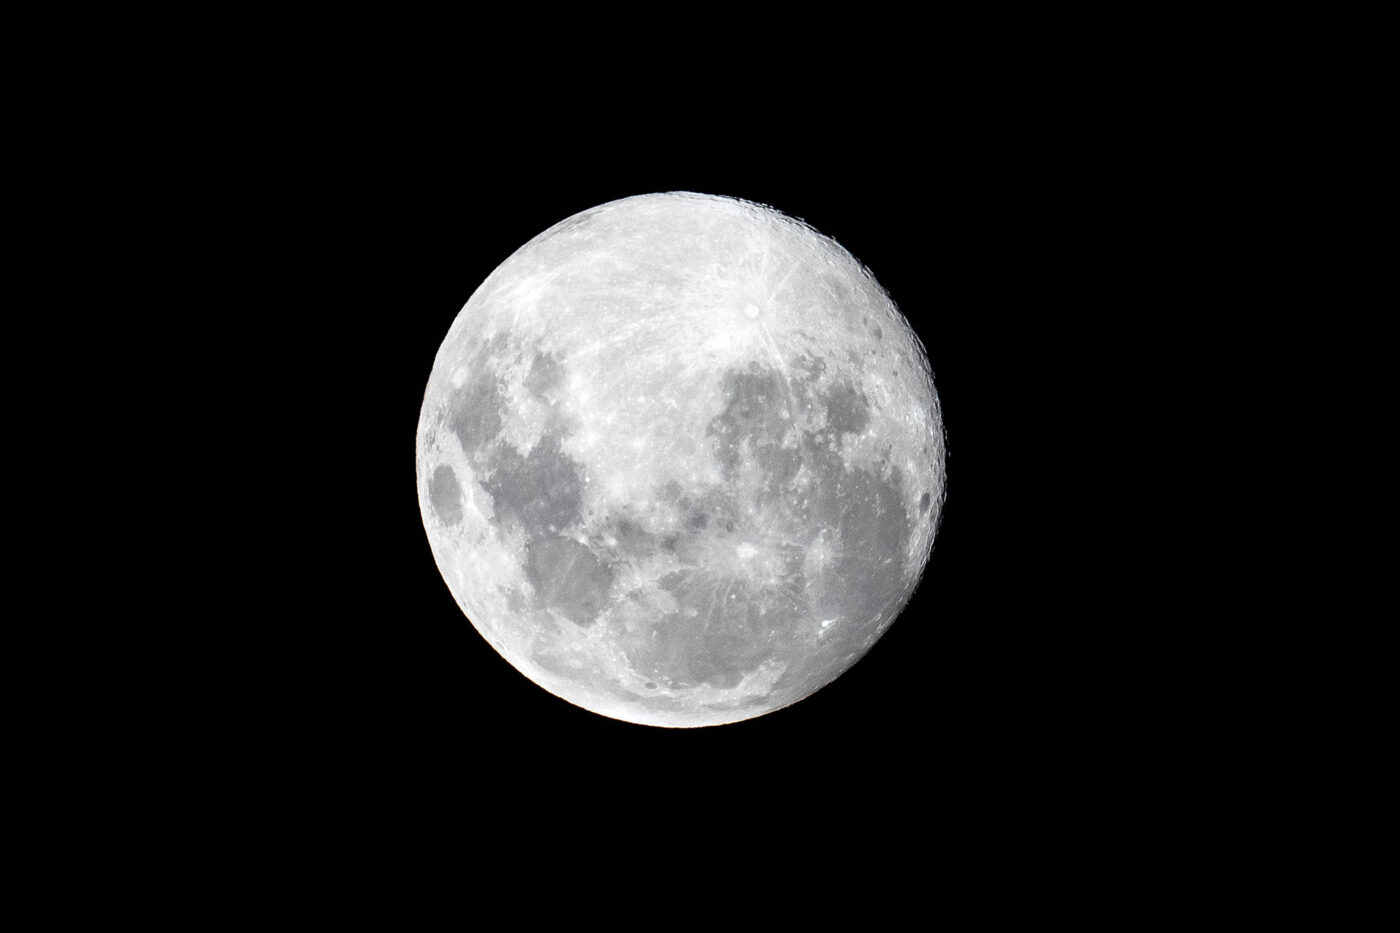
There are few subjects that have such universal interest as the moon. We are all fascinated by it from time to time. As photographers, it is often one of the first subjects we try to tackle as soon as we have a telephoto lens powerful enough to bring it a little closer.
But the moon in the night sky can be a difficult subject because it comes with an inherent exposure problem. How do you photograph a white object, lit by the sun, surrounded by a vast expanse of inky blackness?
Cameras don’t like huge black spaces in a photo. When it comes to calculating exposure, the camera sees the night sky as a huge area of underexposure. It wants to let in more light to prevent underexposing the majority of an image. But the consequence of trying to brighten up the sky is that the moon – the only part of the photo that really matters – ends up horribly overexposed.
In short: if you let the camera choose the exposure, it will almost always overexpose the moon in a night sky. So it’s up to YOU to take control of the exposure.
The best way to do this is in MANUAL exposure mode. In Aperture Priority (AV) or Shutter Priority (TV) the camera still controls the exposure. You can override that to an extent using Exposure Compensation. But that typically allows you to reduce your exposure by two or three stops. But for a photo like this, you might need to be as many as 15 stops darker than what the camera wants to shoot.
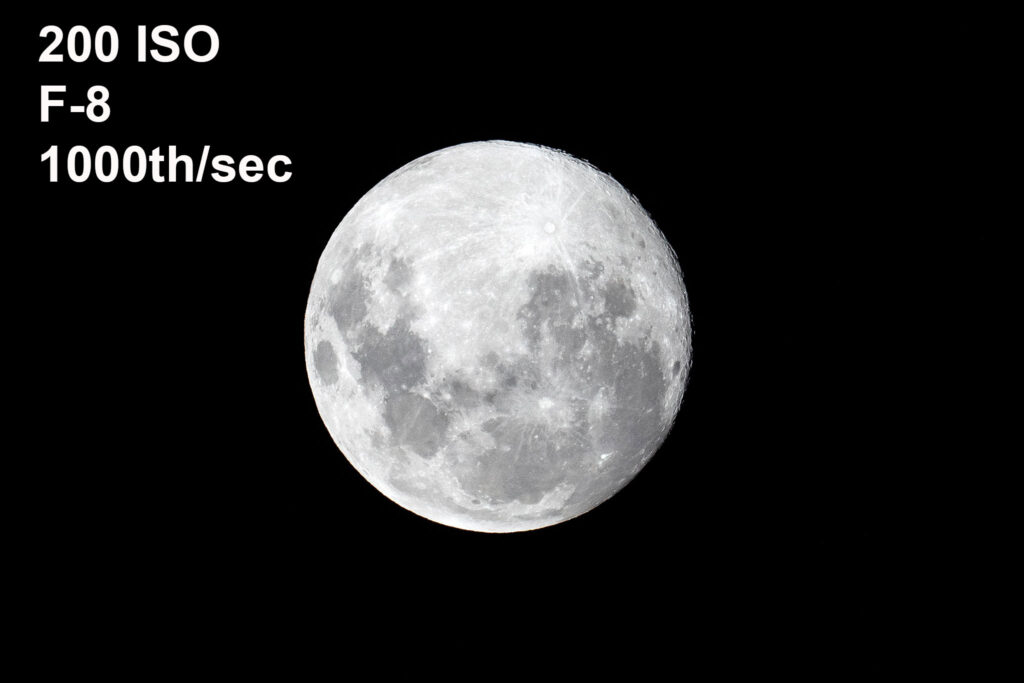
For the record, these are the settings I used for this photo. They are wildly different to what the camera might have shot in auto. My guess (and it’s been a LONG time since I shot in auto), if the camera had been in control of the exposure, it might have been more like IS) 200 / F-6.3 / 30th sec.
And the moon would have looked like a big glowing blob of light in the sky.
ANDREW’S HOT TIP: For photos like this, don’t shoot on the night of the full moon. When the moon is full, the full face that we can see is lit directly by the sun. Every craters is filled with light, and the moon looks like a big, flat dinner plate in the sky. For best results, shoot a couple of days before or after the full moon. You will get some shadows at the edge of the craters and a much stronger impression of a curved globe.

Comments are closed.